Creating a warm welcome
Published 1:15 pm Monday, August 8, 2016
Kristin Overland enjoys making crafts, sewing and crocheting. She makes and sells wooden signs for weddings with her mother, Sue Sanderson.
Overland, 27, lives right outside of Albert Lea with her husband, Derek, and son, Joshua.
She works in customer service and marketing at Mrs. Gerry’s Kitchen.
She took us step-by-step through how to make this welcome sign. It would be perfect in an entryway.
What you’ll need:
• 1-by-6-by-18-inch piece of wood
• graphite transfer paper
• half-pint jar
• acrylic white paint
• 16-gauge black wire
• drill
• paintbrush
• pliers
• pencil
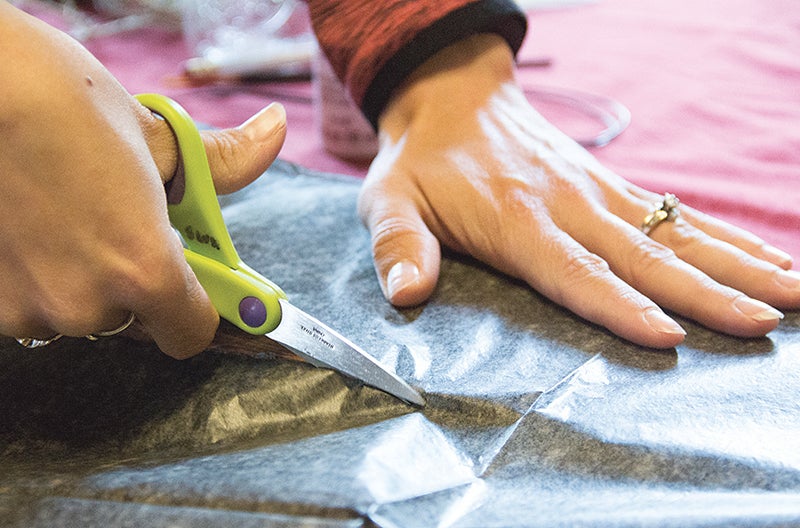
- Stain wood your color of choice. Let dry. Cut transfer paper to cover space where the word “Welcome” will be placed. Tape onto board.
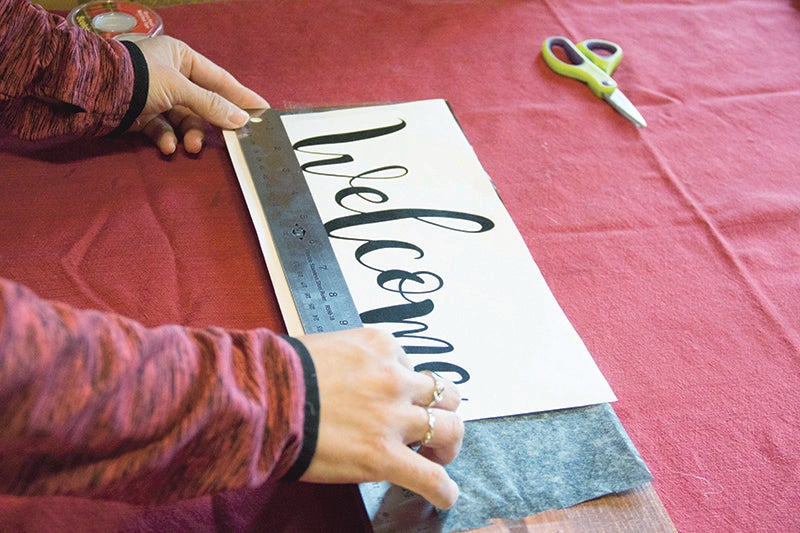
- Find a font you like in a program such as Microsoft Word, InDesign or another program. Print out the word “Welcome” so that it is about 2 1/2 to 3 inches tall. Tape word on top of transfer paper. Use ruler to make sure word is placed straight. Leave several inches on right side.
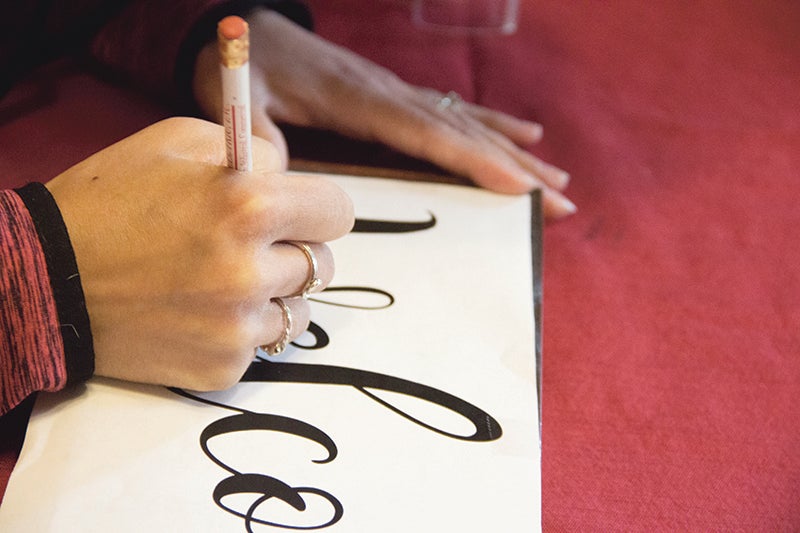
- Trace over outline of the word with a pencil. Letters will transfer through paper onto the board. Word can also be drawn freehand, if desired.
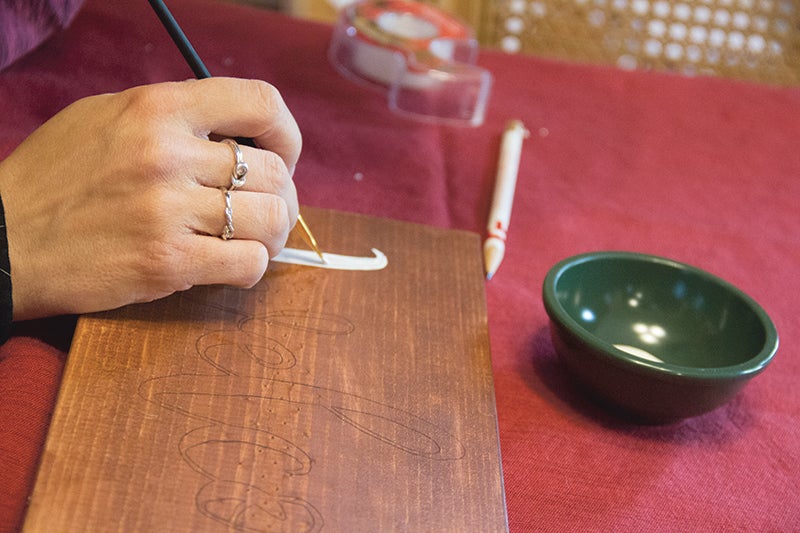
- Use white acrylic paint to fill in letters. Let dry.
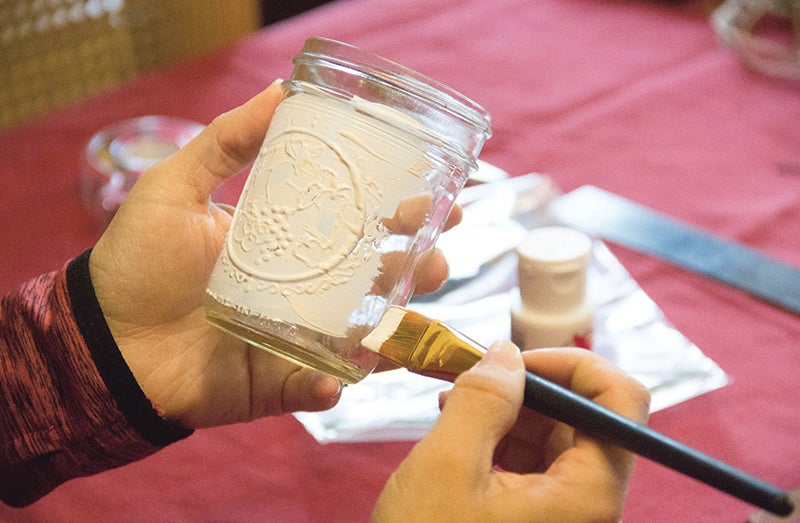
- Paint a thick coat or multiple coats on half-pint jar. Let dry. Use sand paper on the edges to give a distressed look.
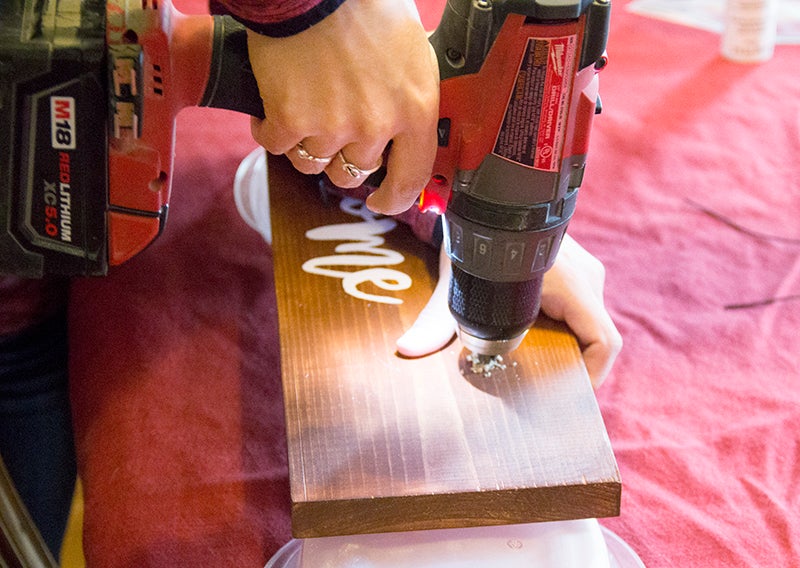
- Place jar where you want it to be on board. Mark where the jar meets the wood on both sides with a pencil near thread of the jar. Drill a hole in both marks.
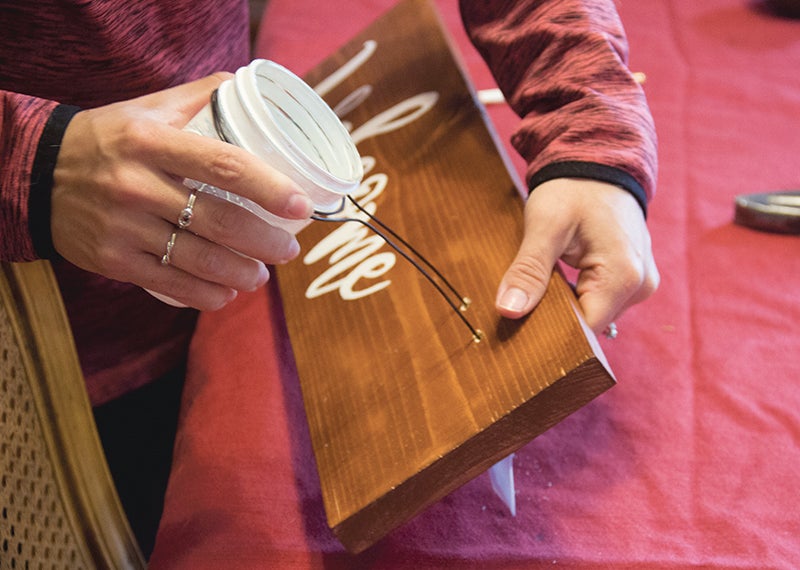
- Wrap wire around jar a few times. Stick wire through holes in wood, and use pliers to wrap wire several times until tight on back to hold in place. Snip extra wire. Hang with a bracket or set on a shelf.


