DIY: Fringe it on tasseled pillow
Published 9:00 am Tuesday, February 27, 2018
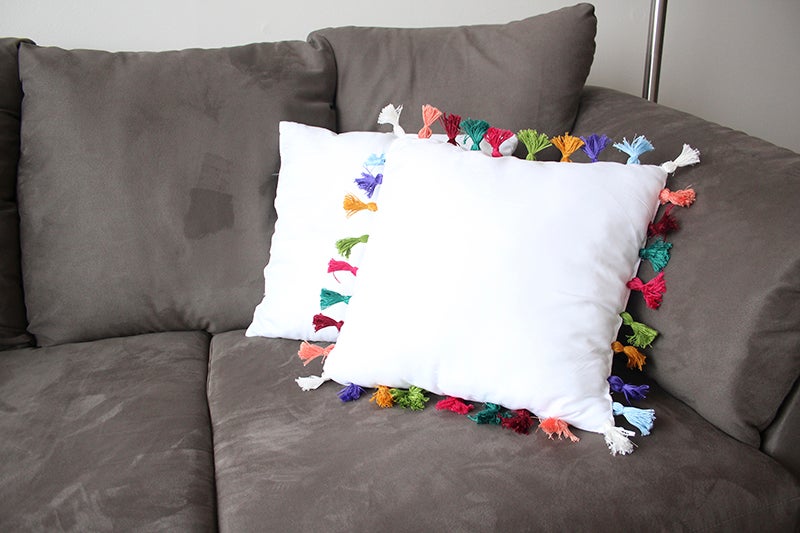
Although we know spring is on its way, we’re still not out of the woods yet. This playful fringe pillow brings some bright color back into your lives. It could be great for a child’s room or as a whimsical addition to your living room couch. Sarah Kocher enjoys almost all crafts involving string or yarn, especially knitting and some light sewing.
What you will need:
• White pillow
• White thread
• Sewing needle
• Scissors
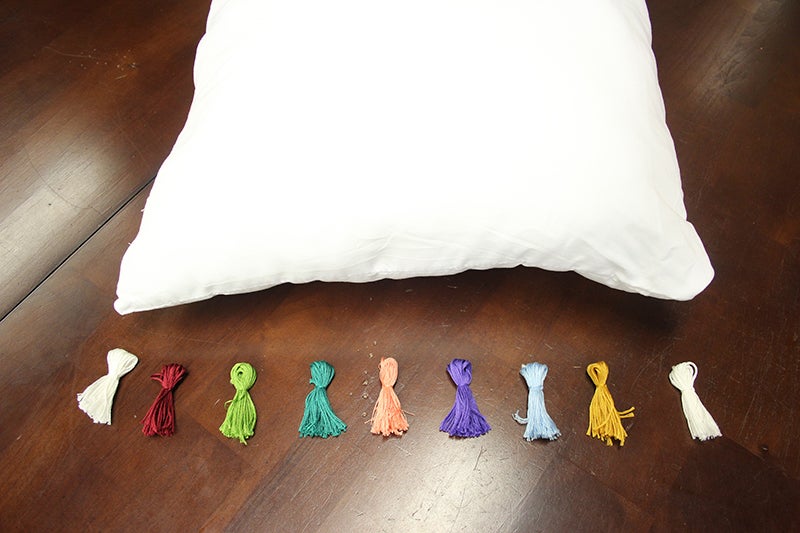
• Embroidery thread in nine colors:
Yellow Maroon
Hot pink Purple
Light blue Teal
Peach Green
White
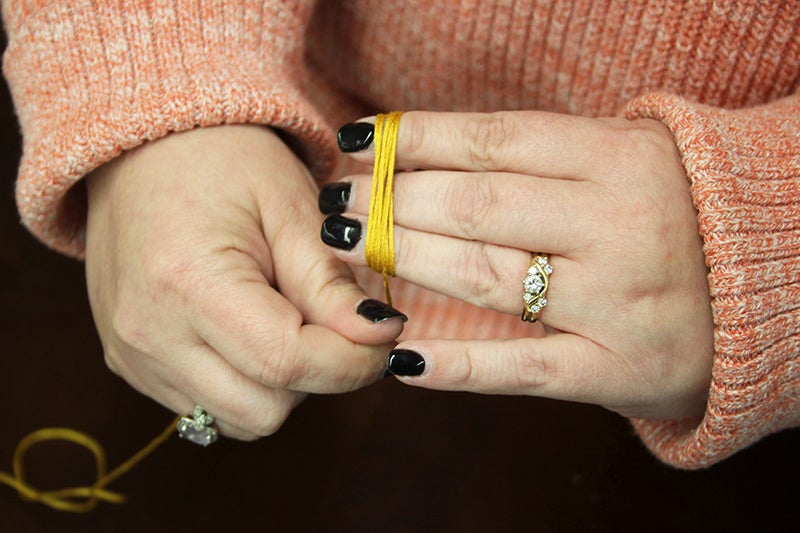
- Start your tassel by wrapping the embroidery thread around 3 fingers until you reach the desired thickness for your tassel (I probably wrapped my embroidery thread around my fingers about 15 times). If you prefer not to use your fingers, you can also use a piece of cardboard the desired length of your tassel.
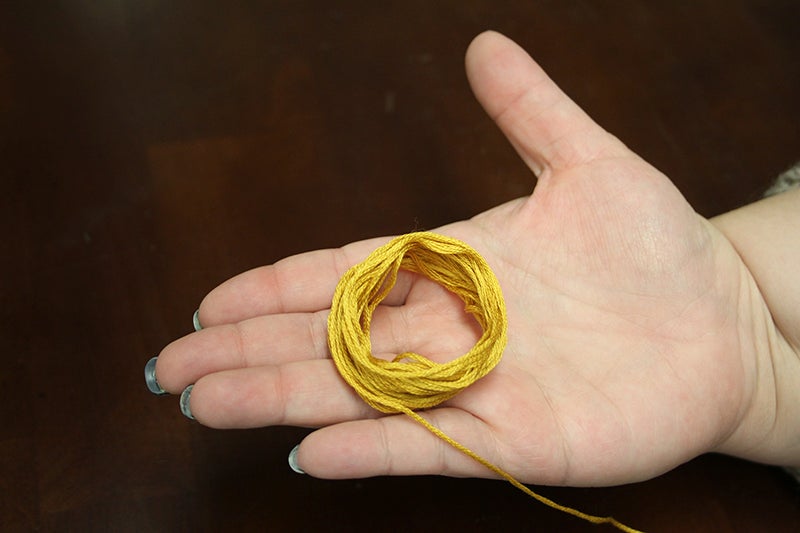
- Slide the thread off the ends of your fingers, being careful to keep the loops intact. Cut the remaining thread off flush with 1 end of the loops.
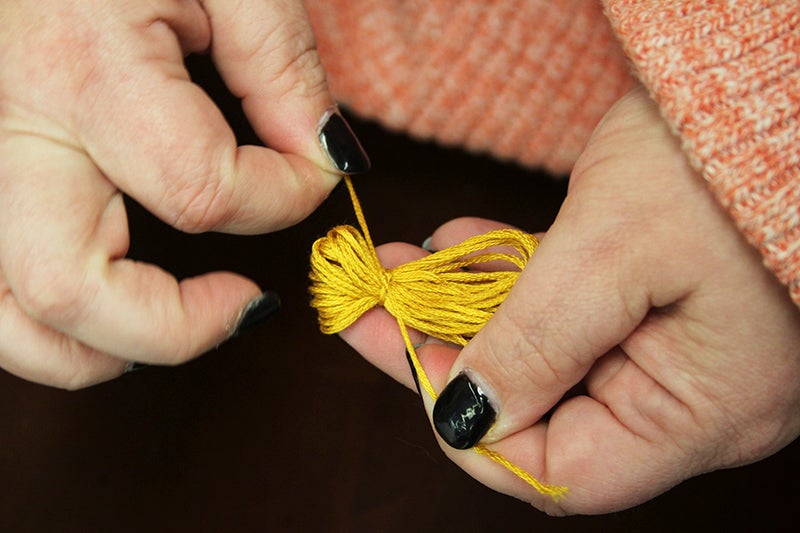
- Using some of the remaining thread, tie around the loops so you’re pinching the circles into 2 smaller ones. Be sure your tie is off-center, so your tassel is split into a smaller head (about 1/3 of the tassel) and a larger tail (about 2/3 of the tassel).
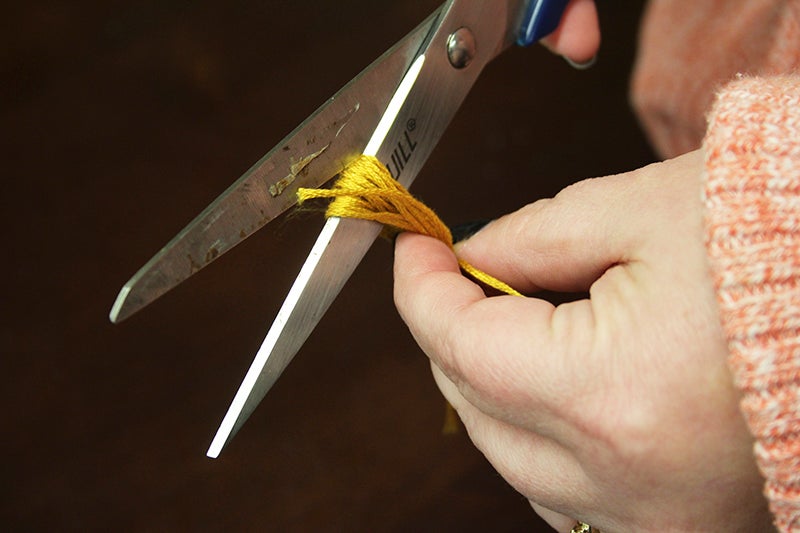
- Slide your scissors through the larger loops and cut them to create the fringe of your tassel.
- Line up your tassels along the edge of the pillow. I made 4 of each color so that I could keep a consistent pattern around all 4 edges and saved the white tassels for each of the 4 corners. If you’re uncomfortable eyeballing an even distance between tassels, consider using a bit of marking chalk on the pillow to note where you’ll stitch each tassel on. The chalk will rub or wash off.
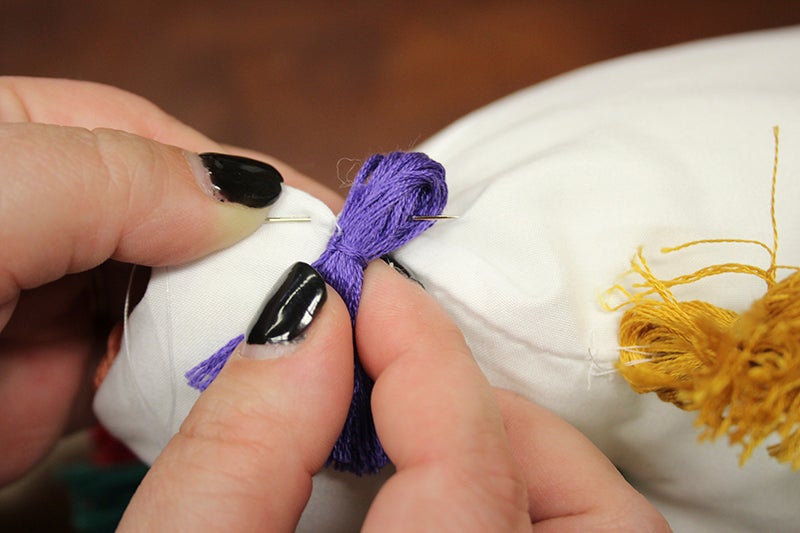
- Stitch your tassels on, looping the thread through the head loops of the tassel. If you’d like to make sure your stitches don’t show, stitch through all the loops once for stability and then gather just a few loops at the bottom for future passes through. Continue this process around the edges of the pillow and on each corner.


