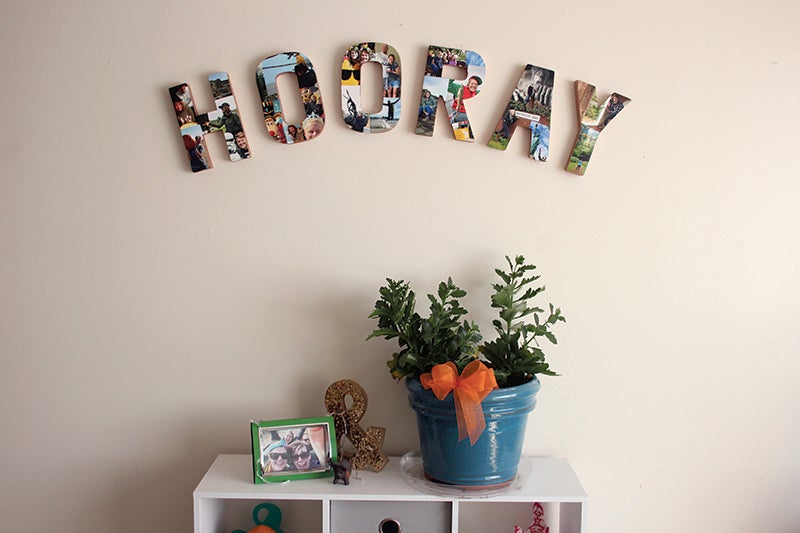
A show and spell display
Published 3:59 pm Monday, July 16, 2018
What you will need:
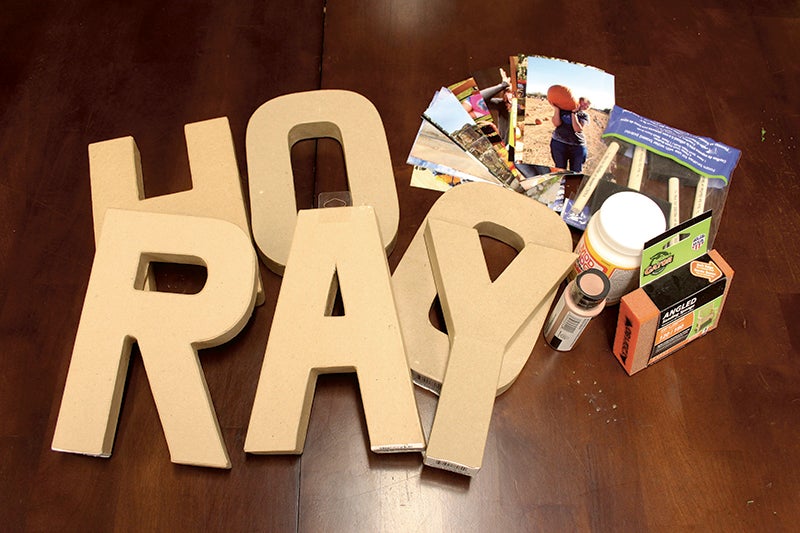
Craft paint, color of your choice Fine grain sandpaper
Mod Podge (I used a matte finish, but either finish will work) Scissors
Foam brushes (at least 2) A utility knife or box cutter
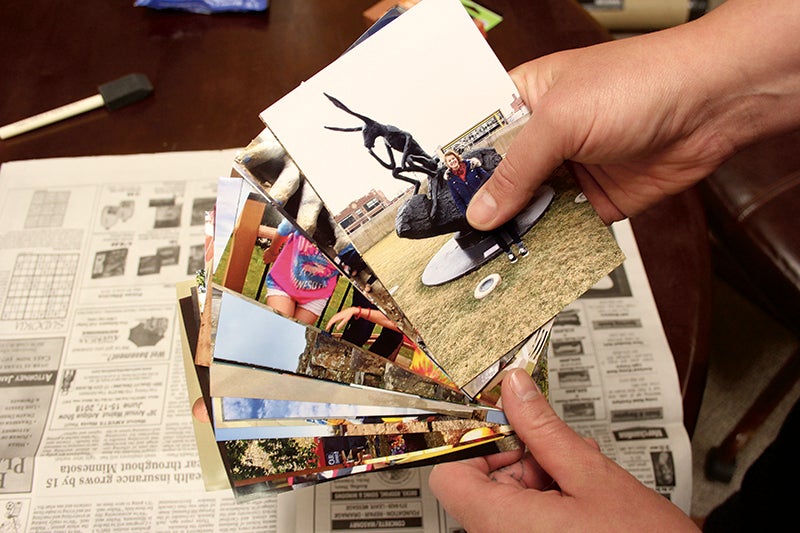
Photos of your choice (plan for three to four per letter if you’re printing 4-by-6 photographs)
Cardboard letters, 8 inches or bigger, spelling a word of your choice
- Pick your photos. It seems pretty self-explanatory, but think twice about every photo you pick. You will be cutting them out into some interesting shapes, so think about what it will take for the subject of your photo to fit on the letters you’ve picked. Consider pictures with a decent amount of backdrop that you can cut away. You could also order photos as wallet prints, which takes the size of the whole photo down to fit better.
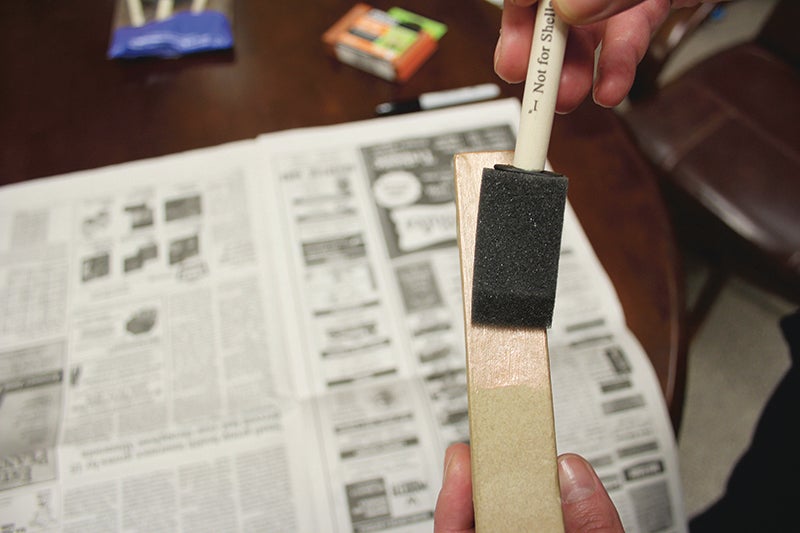
- Paint the sides of your letters with a color of your choice. I did not paint the backs of my letters, because I knew I would be hanging them on a wall. If you would like to display your letters standing, consider painting their backs.
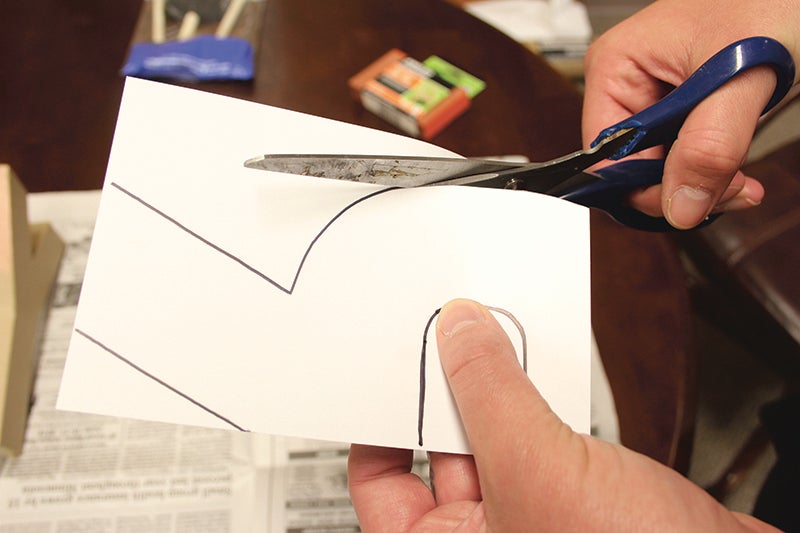
- Plot out how you’d like your photos to appear on your letters. Trace around the letter onto the back of your photos. Make sure you don’t accidentally trace a letter backwards before cutting them out. If you create a word with only symmetrical letters, like “Wow” or “Yay” this won’t be a problem for you. In awkward, small spaces, I filled in with scraps from other photos.
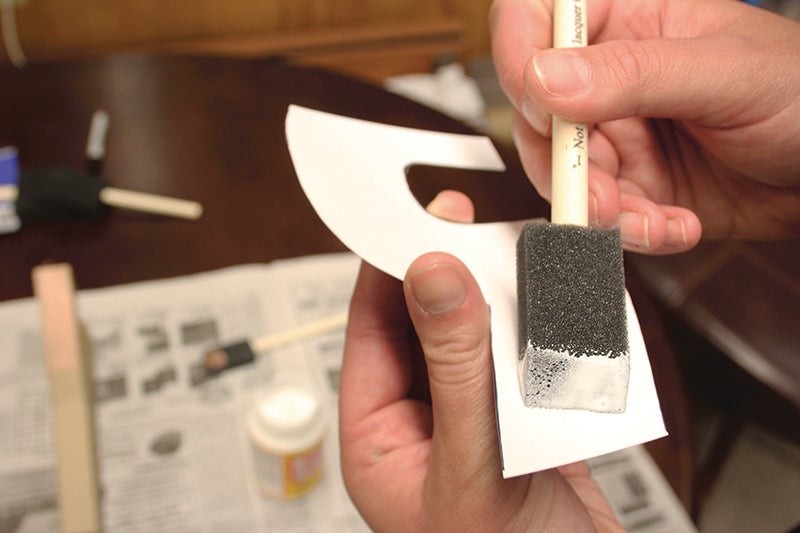
- Using Mod Podge, adhere the photos to the front face of your letters. It was helpful for me to do this in a “step three, step four” rhythm: cut, paste, cut, paste. Wash your hands after about every two letters to keep the glue from picking up dirt or fragments that will gunk up your photos. Let your word dry, then trim each letter as close as possible with a box cutter or utility knife.
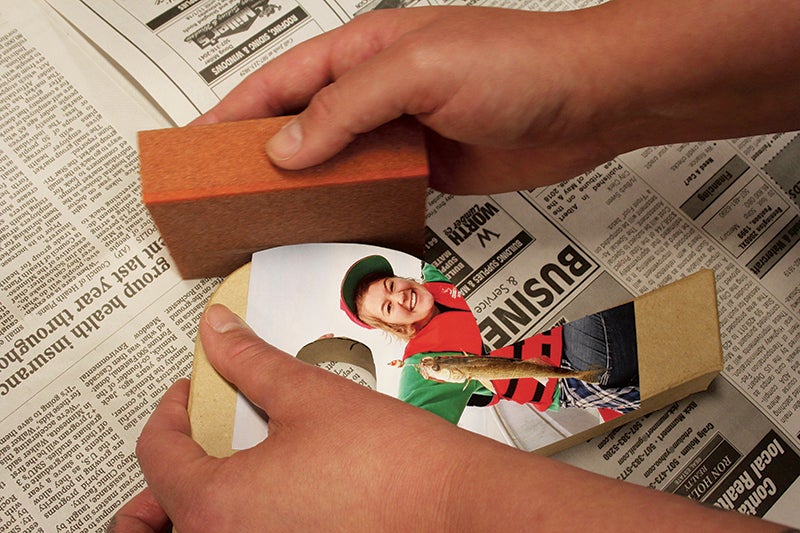
- Sand your photos as they meet the edges of your letters. Brush clean. (This step is optional.)
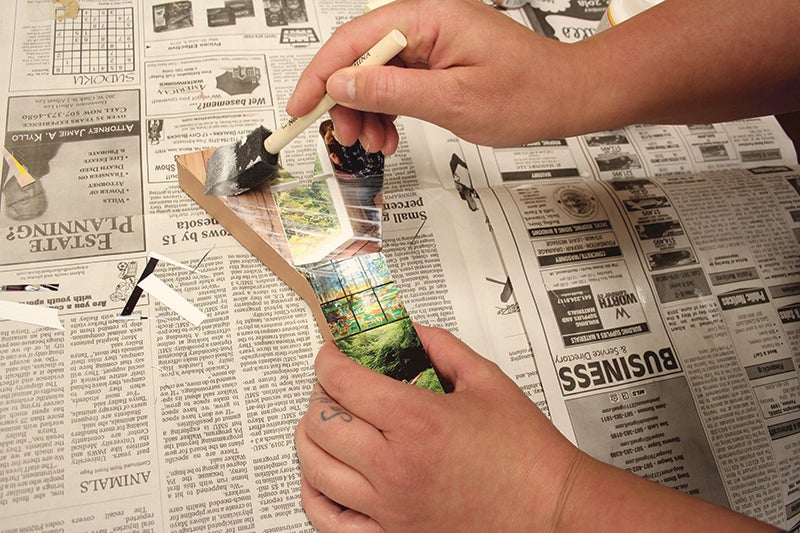
- Put Mod Podge over the top of your pictures. Follow the universal rule of glue: Less is more. Use it sparingly, as it doesn’t take much to seal the photos on and create the finished effect. Your brush strokes will show up, so the less glue you have to create those lines, the smoother the finish.


